
How to Inspect Your Deck for Safety: A DIY Checklist
A DIY deck safety inspection takes about 30 minutes and covers the most important structural elements of a residential deck. It does not replace a professional inspection — a homeowner cannot probe wood density or assess concealed connections the way a contractor can — but it identifies the most obvious risk conditions and determines when professional assessment is needed.
A residential deck has roughly eight to twelve structural elements, each of which can fail independently. A safety inspection works through each element in a logical order, from the foundation up through the framing and finishing. This checklist covers what a homeowner can assess without specialized tools.
What you need: a standard screwdriver, a flashlight, and access to the underside of the deck (if clearance permits). Plan for 30 to 45 minutes on a dry day with good visibility.
Safety Before You Start
If you suspect a deck is significantly compromised — bouncing significantly when walked on, visibly tilted, with railing that moves freely when pushed — do not enter the deck to perform this inspection. Call a licensed contractor and keep the deck unoccupied until inspected. This checklist is for decks in normal service that you want to assess proactively, not for structures showing obvious acute failure signs.
Section 1: Footings and Posts (From Ground Level)
Step 1 — Inspect post bases. Look at the base of each deck post where it meets the footing or post base connector. Look for: - Soft, spongy, or discolored wood (press with your thumb — sound PT wood is very firm) - Visible rot, darkening, or fungal growth - Post base connectors that are visibly corroded (orange rust is normal; white or gray powdery corrosion on the hardware may indicate reaction with PT preservatives) - Any gap between the post base and the footing
Step 2 — Push test each post. Apply lateral pressure to each post at mid-height. Sound posts installed correctly should feel completely rigid. Any movement indicates a connection failure at the base or the top.
Step 3 — Check footing exposure. Look at the concrete footing at each post. Footings that have heaved (are no longer level with the original installation) indicate frost action — a sign that the footing may not extend below the frost line. In Loudoun County, the frost depth is 21 inches; inadequate footings in western Loudoun heave more than in lower-elevation areas.
Section 2: Beams and Joists (From Below)
Step 4 — Inspect the beam. The beam is the largest horizontal framing member spanning between posts. Inspect along its full length for: - Checking (surface cracks along the grain) — normal and not a structural concern on its own - End rot — use the screwdriver to probe the end of the beam where it sits on the post. If the screwdriver penetrates more than 1/4 inch with moderate pressure, the end is rotted - Sagging — look along the length of the beam from one end. Any visible sag in the middle indicates overload or beam failure
Step 5 — Inspect joist ends. Work along the ledger and beam, probing the end of each joist where it connects via a joist hanger. This is the highest-moisture area of a typical deck framing assembly and the most common location for joist end rot. Press the screwdriver tip into each joist end — sound wood resists penetration; rotted wood accepts the tip with minimal force.
Step 6 — Inspect joist hangers. Joist hangers are the metal connectors that hold joist ends at the ledger and beam. Look for: - Hangers with missing nails or screws (all nail holes should be filled) - Severely corroded hangers where the metal has thinned or cracked - Hangers that have pulled away from the ledger or beam
Step 7 — Check for sagging or bowed joists. Look across the joist bays from the end of the deck. All joists should be parallel and level. A single joist that has dropped or bowed indicates that joist has failed its connection or has structural damage.
Section 3: Ledger (Most Critical)
Step 8 — Inspect the ledger board from below. The ledger is attached to the house and connects the deck to the structure. Inspect: - Is the ledger flush against the house rim joist? Any gap indicates movement - Are the through-bolts or lag screws visible and not corroded through? - Probe the ledger wood with the screwdriver — any soft spots indicate rot in the ledger itself - Look at the house siding above the ledger for water staining or damage — a sign of water infiltrating behind the ledger flashing
Step 9 — Check the house rim joist behind the ledger (if accessible). In some deck configurations, you can see the house rim joist alongside the ledger. Probe it with the screwdriver. If the house rim joist is rotted, the ledger attachment is compromised regardless of ledger condition.
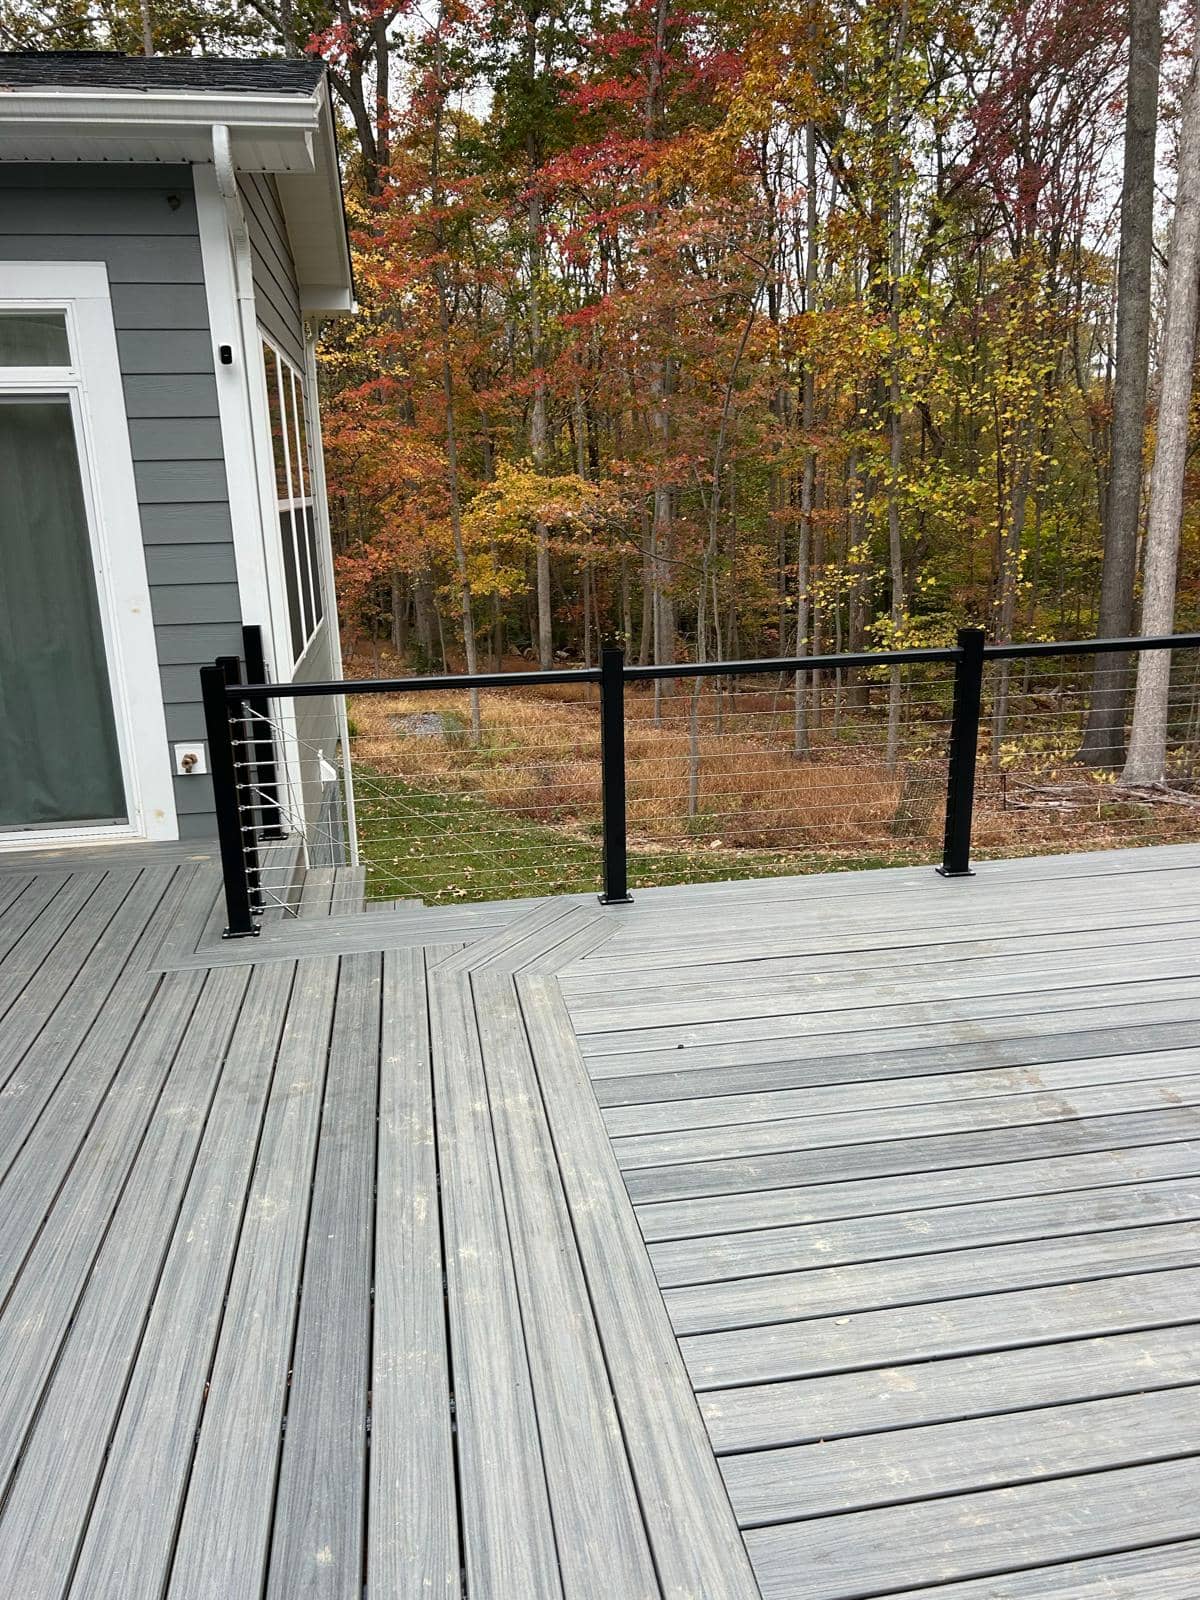
Section 4: Railing (From the Deck Surface)
Step 10 — Railing push test at every post. Grip the railing cap rail firmly and push laterally with both hands at each post location. The railing should feel completely solid — zero perceptible movement. If any post allows movement, probe the post base for rot and inspect the post-to-framing connection.
Step 11 — Baluster spacing check. Pass your hand along the baluster row. No gap should be large enough to accept a 4-inch sphere. Any baluster that has become loose should be re-secured immediately — loose balusters can allow a child to put their head through and become trapped.
Step 12 — Railing height. Measure from the deck surface to the top of the cap rail. Must be 36 inches minimum (for decks under 30 inches above grade) or 42 inches minimum (for decks 30 inches or more above grade).
Section 5: Decking Surface
Step 13 — Surface walk test. Walk the full deck surface, paying attention to any areas of unusual flex, bounce, or depression. The deck should feel uniformly stiff. Concentrated springiness over a specific joist bay indicates a problem with that joist.
Step 14 — Board condition inspection. Look for: - Boards with significant splitting along the length (checking) that have progressed through the full board depth - Boards with visible rot (soft, dark, easily probed) - Raised fastener heads that create trip hazards - Boards with significant warping that create uneven surfaces
Section 6: Stairs
Step 15 — Stair stringer inspection. The stringers are the angled framing members that support the stair treads. Inspect the bottom of each stringer where it contacts the grade or landing — this is the highest-moisture point and common location for rot. Probe with the screwdriver.
Step 16 — Handrail continuity. The stair handrail must be continuous from the top landing to the bottom landing without gaps. Test that it is securely anchored at both the top and bottom post.
When to Call a Professional
Call a licensed deck contractor for professional inspection if: - Any screwdriver probe penetrates more than 1/4 inch with moderate pressure - Any railing post allows visible lateral movement - Any joist hanger has more than 25% of nail holes unfilled or visible metal failure - The ledger has any visible gap from the house - Any post shows soft wood at the base - The deck is more than 15 years old and has not been professionally inspected
LDN Decks provides professional deck safety inspections across Loudoun, Fairfax, and Prince William counties, including probe testing, moisture metering, and written inspection reports.
Schedule a Professional Deck Inspection
---
Related: Deck Collapse Warning Signs · Ledger Board Failure Northern Virginia · Repair vs. Replace a Deck · Deck Winterization Checklist · Deck Repair Services
Frequently Asked Questions
What tools do I need to inspect my deck for safety?
A standard flat-blade screwdriver and a flashlight are the primary tools for a homeowner deck inspection. The screwdriver is used to probe wood at post bases, joist ends, and the ledger for rot — sound pressure-treated wood resists penetration; rotted wood accepts the tip with minimal force. A flashlight is needed to inspect the underside of the deck framing and joist hanger connections.
What is the screwdriver test for deck safety?
The screwdriver test checks for wood rot in structural members. Press the tip of a flat-blade screwdriver firmly into the end grain or surface of the wood being inspected — post bases, joist ends, and the ledger are the critical locations. Sound pressure-treated wood is very firm and resists penetration. Rotted wood allows the screwdriver tip to penetrate more than 1/4 inch with moderate pressure, indicating compromised structural capacity.
How do I know if my deck ledger is safe?
Inspect the ledger (the board attached to the house) for: flush contact with the house with no visible gap; fasteners that are intact and not corroded through; no soft spots when probed with a screwdriver; and no water staining on the house siding above the ledger. Any gap between the ledger and the house, soft wood in the ledger itself, or evidence of water intrusion above the ledger is a professional inspection item.
How do I test if deck railing is safe?
Apply both hands to the cap rail at each post location and push laterally with firm pressure. The railing should feel completely solid — no perceptible movement. Any movement at a post location indicates the post-to-framing connection has failed. On an elevated deck, a railing that moves under hand pressure is not capable of preventing a fall and should be treated as a use restriction until repaired.
Does a DIY deck inspection replace a professional inspection?
No. A DIY inspection using a screwdriver and flashlight identifies obvious surface-visible failures but cannot assess concealed connections, measure wood moisture content with a meter, or probe connections that are not accessible from the deck surface or below. Professional inspectors use moisture meters and probing techniques that detect rot before it is visible. For decks more than 10 to 15 years old, a professional inspection is recommended even if a DIY check shows no obvious problems.
This DIY checklist is for informational purposes and does not constitute a professional structural safety inspection. Homeowner inspections cannot assess concealed framing conditions, measure wood moisture content, or replace professional engineering assessment. If any concern is identified in a homeowner inspection, consult a licensed contractor before continued occupancy of the deck.
Plan Your Northern Virginia Deck Project With Loudoun Decks
Get a free, no-pressure consultation from a licensed Northern Virginia deck builder. Call (571) 655-7207 or visit ldndecks.com/get-estimate.
Get a Free EstimateEverything Your Outdoor
Space Needs
From ground-up deck construction to full outdoor living spaces, every project is custom-designed for your home with permit planning, material guidance, and written workmanship terms.
Custom Deck Builder
Transform your backyard with a custom-designed deck using Trex, TimberTech, wood, or PVC materials matched to your budget, HOA rules, and maintenance goals.

Deck Resurfacing
Premium wood-to-composite resurfacing for structurally sound frames. Full surface conversions start from $15k with boards, railings, fascia, and safety review.

Patio Contractor Services
Professional bluestone and paver patio installation. We create durable, beautiful ground-level outdoor living spaces that last a lifetime.
Local Expertise Across Northern Virginia
Loudoun Decks is a trusted deck builder serving Loudoun County, Fairfax County, Prince William County, Arlington, and Stafford.
Guides Northern Virginia Homeowners Are Reading
Deck Permits in Fairfax County
Requirements, timeline, fees, and inspection process.
Deck Builder in Northern Virginia
Custom decks, permits, HOA support and local service areas.
Covered Deck Builder
Covered deck planning, outdoor living upgrades and shade structure decisions.
Trex vs TimberTech vs AZEK
Side-by-side brand comparison for Virginia climate.
Composite Deck Cost in Northern Virginia
Material pricing, verified source references, planning examples and what drives the price.
Free Deck Cost Calculator
Get an instant estimate by material, size, and add-ons.